
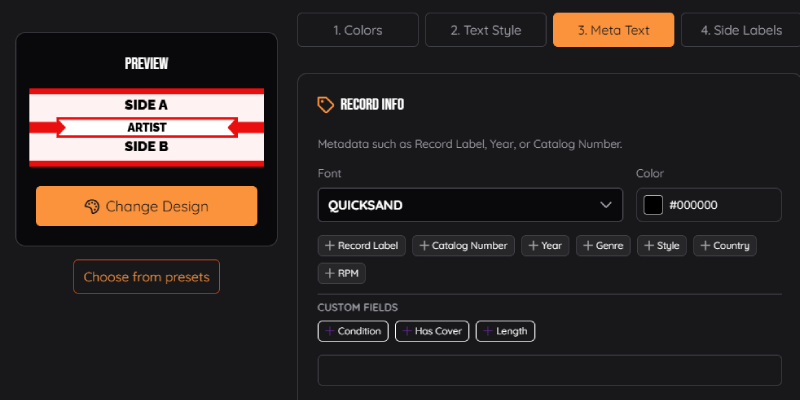
Making a design used to mean one long page of settings. The editor now takes you through it in order, and the strip stays in view as you go, so you see each change as you make it.
The steps
Go to Title Strip Designs and click Add Custom Design, or open one of yours. Start with Change Design to pick the strip's look, then:
- Colors: the strip's colors and the text colors.
- Text Style: the fonts for the songs and the artist, capitals, italics and quotes.
- Details Text: the record label, catalog number or year in small print.
- Side Labels: short text on the ends, like the genre or "45 RPM", filled in from each record if you like.
Not after a design of your own? Add Preset gives you a finished one in a click.
On the free plan, the editor tells you when a design uses a Pro font or a Pro design, so there are no surprises when you print. More about the text settings in more ways to style your strip text.