
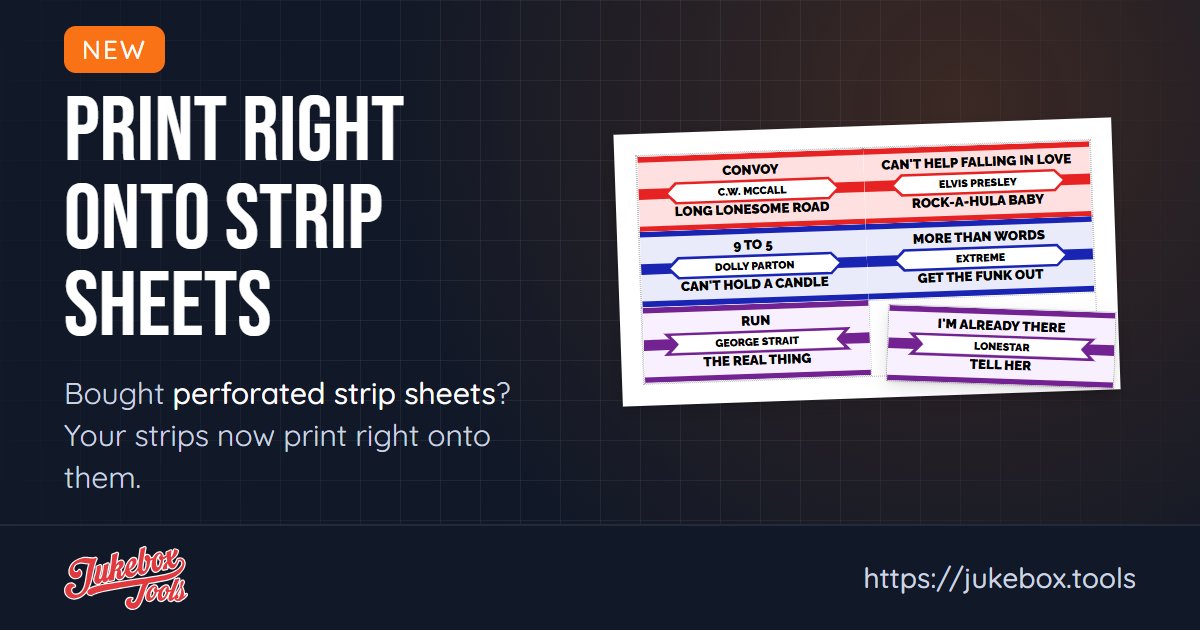
Some owners buy title strip sheets: card stock that's already perforated into strips, so there's no cutting. Until now the PDF was laid out for plain paper, with a header and cut lines, and it didn't line up with a sheet. Now a print set can print onto your sheets.
Set up your sheet
- Go to Print Sets. Click Add Print Set, or Edit on a set you already have.
- Pick your paper size, and set Print on to Pre-printed sheets.
- Measure your sheet and fill in the boxes. The picture beside them is lettered to match:
- A Top margin: from the top of the paper to the top of the first row of strips.
- B Left margin: from the left edge of the paper to the left edge of the first strip.
- C Space between columns and D Space between rows: the gap between two strips, often 0.
- Strips across and Strips down: how many strips the sheet has.
- Click Create Print Set, or Update Print Set.
Measure in inches or millimeters with the Units switch. If the strips won't fit on the paper from those margins, the dialog says how many do, and the PDF leaves off the ones that would run off the page.
Check it before you print
The print set shows each page with the sheet's strips outlined, so you can see where every strip lands.
Print one page on plain paper first. Hold it over a sheet against a window: the strips should sit inside the perforations. If they're off, nudge the margins and try again.
Then click Printable PDF and print at Actual Size or 100%, not "Fit to Page." For the rest of the printing steps, see Print your title strips.
The next print set you make starts with the same sheet, so you only measure once.